
Getting Started
This guide walks you through the initial setup to get your website running through smoxy. Once traffic flows through smoxy, every feature is available -- image optimization, HTML caching, and security -- with a single usage-based subscription.
What you need:
- A smoxy account
- Your origin server's IP address and port
- Access to your domain's DNS management
TIP
First time in smoxy? A short product tour introduces organizations, zones, and hostnames. You can replay it any time from the (?) menu, and a Guided setup walks you through activating your first zone.
Step 1: Create Your Organization
The first time you sign in, smoxy asks you to create an organization. An organization is your account - it holds your zones, domains, team, and billing. Give it a name and continue; your zones page opens next.
If you were invited to an existing organization instead, accept the invitation from your notifications and skip to Step 2.
Step 2: Create a Zone
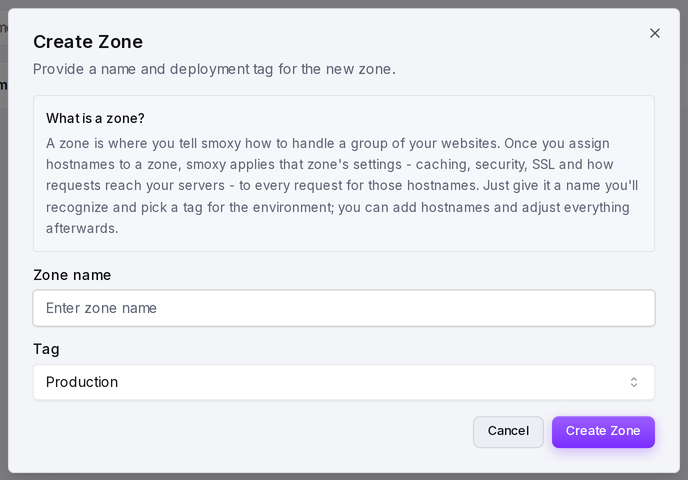
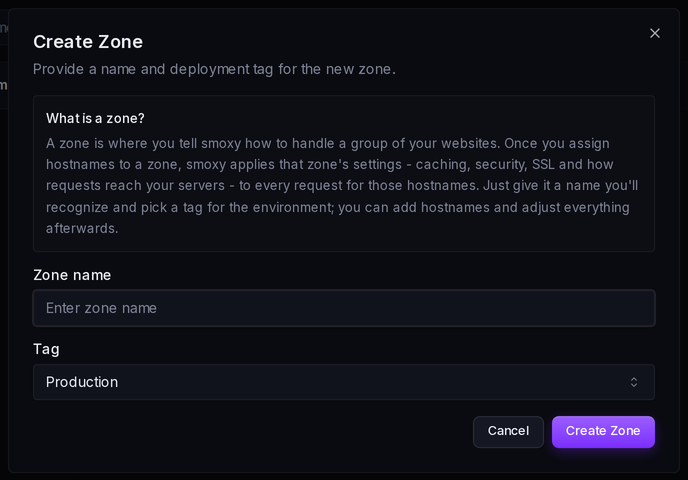
- Click Create Zone (or New zone in the header if zones already exist)
- Enter a Zone name (choose something you'll recognize)
- Choose a Tag (Production, Staging, or Development - this is for your own organization only)
- Click Create Zone
The dialog has just these two fields. After the zone is created, add the hostnames it should serve on the zone's Hostnames page - these are the domains that use this zone's configuration (e.g. example.com, www.example.com). You can add more at any time.
INFO
What is a zone? A zone is a reusable bundle of settings - caching, security, optimization - that applies to the hostnames attached to it. See What is a Zone? for details.
Step 3: Set Up SSL
For each hostname, smoxy needs an SSL certificate. You have two options:
Auto-managed (recommended)
smoxy generates and renews certificates automatically via Let's Encrypt. To verify domain ownership, you need to create a DNS CNAME record:
| Record Type | Name | Value |
|---|---|---|
| CNAME | _acme-challenge.example.com | Shown in the setup wizard (copy button provided) |
After adding the record at your DNS provider, click Verify CNAME Record in smoxy. Once verified, the certificate is generated automatically.
INFO
Note: This DNS record is only for certificate generation - it does not route traffic through smoxy yet.
Self-managed
To use your own certificate, open the SSL Certificates page and click New Certificate. In the New SSL Certificate dialog, set Type to Custom, then paste your Certificate PEM and Private Key PEM (and an optional Chain PEM). See Self-managed SSL Certificates for format requirements.
Step 4: Configure Your Origin
Your origin is the backend server smoxy forwards requests to. Setting it up is two steps: create the origin, then select it as the zone's default backend.
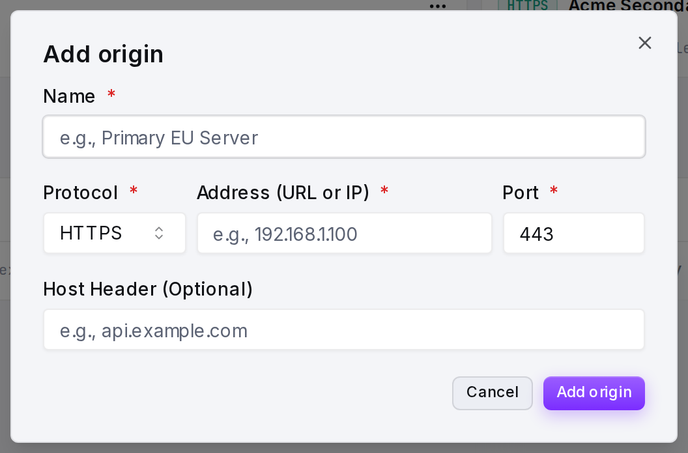
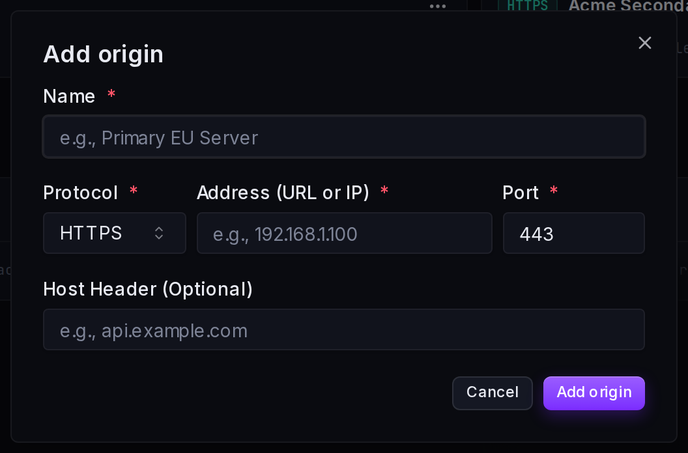
1. Create the origin. On the org-level Backends page (nav Backends), click Add origin and fill in:
| Field | Description |
|---|---|
| Protocol | https (default) or http |
| Address (URL or IP) | Your server's address - a hostname (e.g. origin.example.com) or IPv4 address (e.g. 12.3.45.6) |
| Port | Default 443 for HTTPS, 80 for HTTP |
| Host Header (Optional) | Overrides the Host header sent to your server. Leave empty to use the incoming domain. |
2. Set it as the default backend. On the zone's Proxy page, click Select backend... in the Default backend card, pick the origin (or a load balancer) you created, and click Save changes.
Step 5: Finish Setting Up the Zone
While setup is incomplete, every zone page shows a Finish setting up this zone checklist with four steps:
- Set the default backend - the origin or load balancer from Step 4
- Assign a hostname - at least one hostname on the zone
- Valid SSL certificate - a valid certificate covering your hostnames
- CNAME pointing at smoxy - your hostname's DNS CNAME resolves to smoxy (see Step 6)
The checklist disappears once all four steps are complete. To start serving traffic, use the Enabled / Disabled toggle in the zone header.
Step 6: Switch DNS to smoxy
This is the step that actually routes your visitors' traffic through smoxy. The dashboard shows the exact CNAME records you need to set:
| Record Type | Name | Value |
|---|---|---|
| CNAME | example.com | Shown on the dashboard (copy button provided) |
| CNAME | www.example.com | Shown on the dashboard (copy button provided) |
Set these records at your DNS provider. Use a low TTL (e.g. 300 seconds / 5 minutes) so you can quickly revert if needed.
INFO
Note: DNS changes can take up to 24-48 hours to propagate globally, though most changes are visible within minutes.
Verify Traffic
Watch the dashboard to see requests arriving. Once you see traffic in the Requests chart, your setup is working.
Step 7: Activate Your Modules
At this point, traffic flows through smoxy but no optimization is active yet. Activate the modules you've purchased:
Optimization
Automatically compresses and converts images to modern formats (WebP, AVIF) based on browser support. Enable it on the zone's Optimization page and configure quality thresholds.
HTML Caching
Caches HTML pages at the edge for near-instant delivery. Enable dynamic caching on the zone's Cache page. Make sure to exclude dynamic pages (cart, checkout, account) using Conditional Rules.
Security
Activates the Web Application Firewall (WAF) with managed rules and security scenarios that protect against common threats. Safe to enable for all zones - no configuration needed to get started.
What's Next?
- Advanced Caching - Fine-tune TTL, cache keys, and cache tags
- Dashboard - Monitor traffic, cache hits, and manage your zone
- Rules - Create rules to customize behavior per path, country, or device
- How SSL Works in smoxy - Understand certificate management in detail