
Self-managed SSL Certificates
While smoxy automatically generates and renews SSL certificates via Let's Encrypt, you may need to use your own certificates in certain scenarios. This guide covers everything about uploading and managing self-managed SSL certificates.
When to Use Self-managed Certificates
Self-managed certificates are useful when you:
- Need an Extended Validation (EV) certificate for compliance or trust indicators
- Have certificates issued by a specific Certificate Authority required by your organization
- Need certificates with specific attributes not provided by Let's Encrypt
- Operate in environments where Let's Encrypt is not permitted
Requirements
Your certificate must meet the following requirements:
| Requirement | Details |
|---|---|
| Format | PEM-encoded (Base64 ASCII, starts with -----BEGIN CERTIFICATE-----) |
| Private Key | PEM-encoded RSA or ECDSA key, must match the certificate |
| Validity | Certificate must not be expired |
| Domain Coverage | Certificate must include at least one SAN matching your domain |
| Chain | Provide intermediate certificates for full chain validation - paste them into the dialog's separate Chain PEM (optional) field |
Certificate File Format
Put your server certificate in the Certificate PEM field and any intermediate certificates in the separate Chain PEM (optional) field. Each is PEM-encoded - one or more blocks like this:
-----BEGIN CERTIFICATE-----
(Your server certificate)
-----END CERTIFICATE-----
-----BEGIN CERTIFICATE-----
(Intermediate certificate - put this in the Chain PEM field)
-----END CERTIFICATE-----
-----BEGIN CERTIFICATE-----
(Root certificate - optional, usually not needed)
-----END CERTIFICATE-----
Private Key Format
-----BEGIN PRIVATE KEY-----
(Your private key)
-----END PRIVATE KEY-----
or RSA format:
-----BEGIN RSA PRIVATE KEY-----
(Your RSA private key)
-----END RSA PRIVATE KEY-----
Uploading a Self-managed Certificate
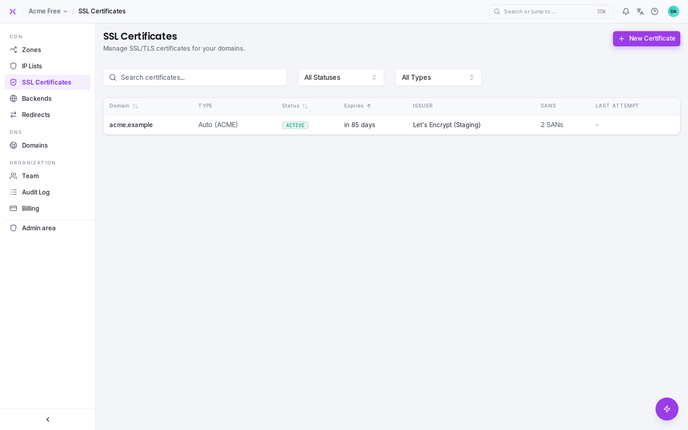
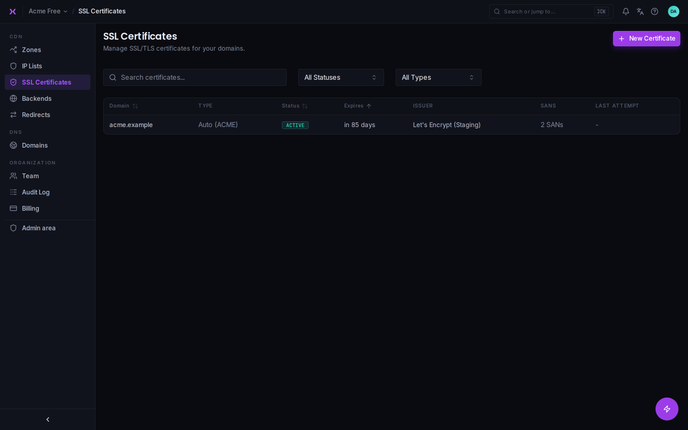
- Open SSL Certificates in the smoxy sidebar
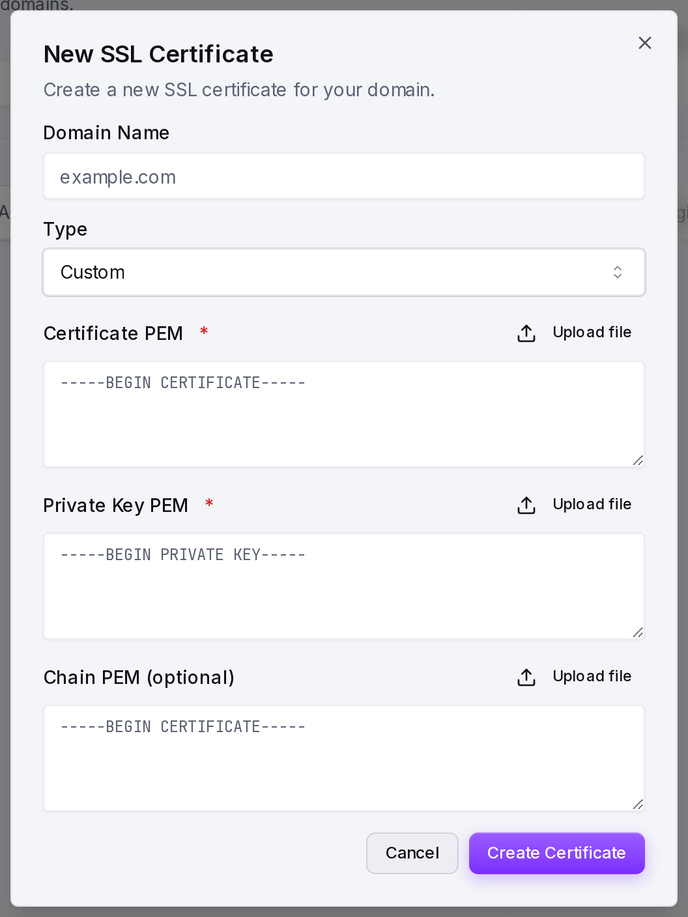
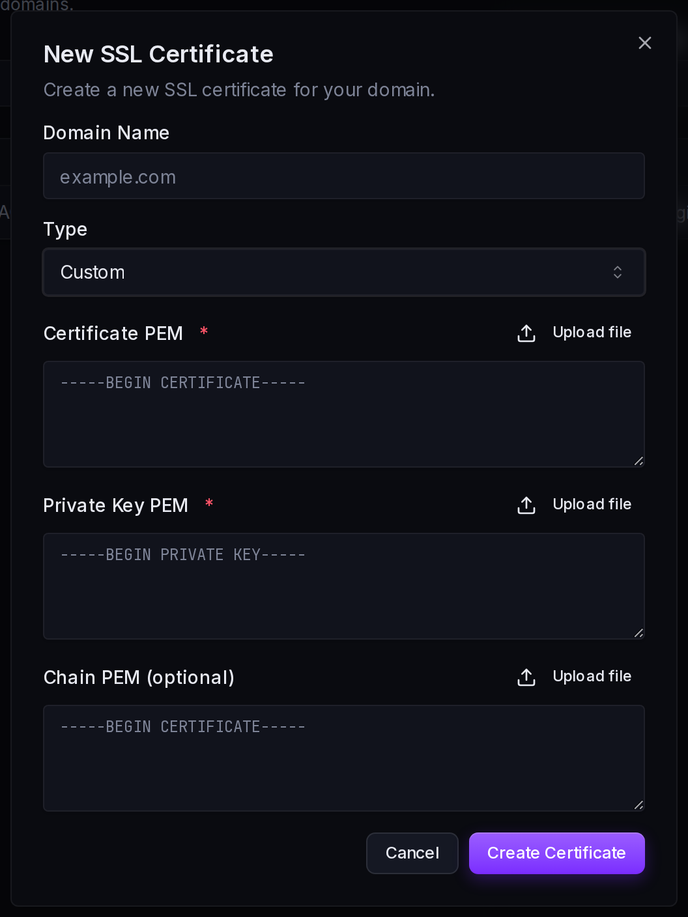
- Click New Certificate to open the New SSL Certificate dialog
- Set Type to Custom
- Paste or upload your Certificate PEM (your server certificate)
- Paste or upload your Private Key PEM (the matching private key)
- Optionally add any intermediate certificates in the separate Chain PEM (optional) field
- Click Create Certificate
What smoxy validates
When you upload, smoxy checks:
- Certificate validity - Is the certificate parseable and in PEM format?
- Key match - Does the private key match the certificate?
- Expiration - Is the certificate still valid?
- Chain validity - If provided, is the intermediate chain valid PEM?
- SAN comparison - If replacing an existing certificate, smoxy compares the Subject Alternative Names
SAN Mismatch Warning
If the SANs in your new certificate differ from the current certificate, smoxy will display:
- Which domains are added in the new certificate
- Which domains are removed compared to the current certificate
You must confirm the upload if SANs differ. This prevents accidental removal of domain coverage.
Renewal Responsibilities
smoxy does not auto-renew self-managed certificates. You are fully responsible for:
- Monitoring certificate expiration
- Obtaining a renewed certificate from your CA
- Uploading the new certificate before the old one expires
smoxy displays the certificate's expiration date on its detail page to help you plan renewals.


INFO
Tip: Consider switching to smoxy's auto-generated certificates if certificate management overhead becomes a burden. You can switch at any time.
Switching Between Certificate Types
From Self-managed to Auto-managed
You can switch from a self-managed certificate to an auto-managed Let's Encrypt certificate:
- Ensure your
_acme-challengeCNAME records are properly configured - Open the certificate on the SSL Certificates page
- Choose Switch to Auto-Managed
smoxy will start the generation process. Your self-managed certificate remains active until the new certificate is ready.
From Auto-managed to Self-managed
- Upload your certificate as described above
- The auto-managed certificate is archived
- Automatic renewal is disabled for this domain
INFO
Note: The previous certificate is always archived, not deleted. This provides an audit trail of certificate changes.
Common Errors
| Error | Cause | Solution |
|---|---|---|
| Invalid CRT file | Certificate cannot be parsed | Ensure the certificate is PEM-encoded |
| CRT and KEY file do not match | Private key doesn't correspond to the certificate | Verify you're using the correct key for this certificate |
| The CRT file has expired | Certificate's validity period has ended | Obtain a new certificate from your CA |
| Certificate does not contain this domain | None of the SANs match your domain | Ensure the certificate covers your domain or its wildcard |
| Invalid chain | The intermediate chain is missing or not valid PEM | Provide a valid intermediate chain in the Chain PEM (optional) field |